
OOP Python Templating Engine.
This project is maintained by Hrabal
Hosted on GitHub Pages — Theme by orderedlist
Let’s Build an App
TemPy in Action, the basics
In this section we’ll start to use TemPy. We’re going to build the home page of our site. To build our app we’ll use Fontawesome for icons and Bootstrap 4.1 for the page structure and the basic style. We’ll be following the recipe in the Bootstrap’s Album Example. We’ll recreate the html structure of this example with TemPy and in the next section we’ll add our custom contents.
First, we have to make our templates folder a valid python module, so we can later import the templates and pages:
(venv)$ touch templates/__init__.py
Now it’s time to build our home page structure! Create a file called pages.py and add this code to it (we’ll analyze each line later):
# templates/pages.py

from tempy.tags import Link, Script, Meta, Main, Section, Div, H1, P
from tempy.widgets import TempyPage


class HomePage(TempyPage):
    def init(self):
        self.head(
            Meta(name="viewport", content="width=device-width, initial-scale=1, shrink-to-fit=no"),
            Link(rel="stylesheet",
                 href="https://maxcdn.bootstrapcdn.com/bootstrap/4.0.0-beta.2/css/bootstrap.min.css",
                 integrity="sha384-PsH8R72JQ3SOdhVi3uxftmaW6Vc51MKb0q5P2rRUpPvrszuE4W1povHYgTpBfshb",
                 crossorigin="anonymous"),
        )
        self.body(
            Main(role='main')(
                Section(klass="jumbotron text-center")(
                    Div(Klass="container")(
                        H1(klass="jumbotron-heading")('TemPy Contact Book'),
                        P(klass="lead text-muted")("A contact book made with TemPy."),
                    )
                ),
                Div(klass="album py-5 bg-light")(
                    Div(klass="container")
                )
            ),
            Script(src="https://code.jquery.com/jquery-3.2.1.min.js",
                   integrity="sha256-hwg4gsxgFZhOsEEamdOYGBf13FyQuiTwlAQgxVSNgt4=",
                   crossorigin="anonymous"),
            Script(src="https://cdnjs.cloudflare.com/ajax/libs/popper.js/1.12.3/umd/popper.min.js",
                   integrity="sha384-vFJXuSJphROIrBnz7yo7oB41mKfc8JzQZiCq4NCceLEaO4IHwicKwpJf9c9IpFgh",
                   crossorigin="anonymous"),
            Script(src="https://maxcdn.bootstrapcdn.com/bootstrap/4.0.0-beta.2/js/bootstrap.min.js",
                   integrity="sha384-alpBpkh1PFOepccYVYDB4do5UnbKysX5WZXm3XxPqe5iKTfUKjNkCk9SaVuEZflJ",
                   crossorigin="anonymous"),
            Script(defer=True, src="https://use.fontawesome.com/releases/v5.0.0/js/all.js")
        )
So much going on here! First things first, the imports:
from tempy.tags import Link, Script, Meta, Main, Section, Div, H1, P
from tempy.widgets import TempyPage
Here we are importing from TemPy two different things that are really just the same thing: some tags and a widget.
tempy.tags contains the the basic bricks that will form our page. With TemPy, all we are going to do is nest tags and contents inside other tags.
Each tag in the tempy.tags is a subclass of Tag, the only diferencee between one another is how they will be rendered: Div will produce the string <div></div>, P will produce <p></p> and Link will produce <link>.
We are also importing a class from tempy.widgets. In this module we can find a collection of widgets that can be considered as “tags on steroids.” Those are subclasses of various tags, with some extra useful methods or behavior. For instance, we are importing TempyPage which is a subclass of tempy.tags.Html. It inlcudes a couple of methods to set some common html attributes and the two main parts of an html page - the head, with its title, and the body.
To see what’s a Widget, we can try to render an empty widget from the interpreter:
(venv)$ python
Python 3.7.0 (v3.7.0:1bf9cc5093, Jun 26 2018, 23:26:24)
[Clang 6.0 (clang-600.0.57)] on darwin
Type "help", "copyright", "credits" or "license" for more information.
>>> from tempy.widgets import TempyPage
>>> print(TempyPage().render(pretty=True))
That will produce this:
<!DOCTYPE HTML>
<html>
    <head><meta charset="UTF-8"/><meta name="description"/><meta name="keywords"/>
        <title>
        </title>
    </head>
    <body>
    </body>
</html>
As you can see TempyPage is a simple html structure that we can use to build our own page. To do so we create our own TemPy class:
class HomePage(TempyPage):
    def init(self):
        pass
We can repeat the test above in the shell using HomePage instead of TempyPage and we’ll get the same result. All the custom contents are added in the init method, which will be called by TemPy when a HomePage instance is created. Let’s try it:
class HomePage(TempyPage):
    def init(self):
        self.head(
            Meta(name="viewport", content="width=device-width, initial-scale=1, shrink-to-fit=no")
        )
The code above will add a <meta> tag with name and content attributes inside the <head> of our document. We did so by calling the head attribute of our TempyPage which is a tempy.tags.Head instance.
The above class will produce the following output. It is the same as our empty TempyPage above, with our new <meta> tag at the end ot the <head> tag:
<!DOCTYPE HTML>
<html>
    <head><meta charset="UTF-8"/><meta name="description"/><meta name="keywords"/>
        <title>
        </title>
        <meta name="viewport" content="width=device-width, initial-scale=1, shrink-to-fit=no"/>
    </head>
    <body>
    </body>
</html>
Each named argument passed to the Meta instance will become a tag’s attribute, so we do the same adding the <link> to Bootstrap’s CDN:
class HomePage(TempyPage):
    def init(self):
        self.head(
            Meta(name="viewport", content="width=device-width, initial-scale=1, shrink-to-fit=no"),
            Link(rel="stylesheet",
                 href="https://maxcdn.bootstrapcdn.com/bootstrap/4.0.0-beta.2/css/bootstrap.min.css",
                 integrity="sha384-PsH8R72JQ3SOdhVi3uxftmaW6Vc51MKb0q5P2rRUpPvrszuE4W1povHYgTpBfshb",
                 crossorigin="anonymous"),
        )
<!DOCTYPE HTML>
<html>
    <head><meta charset="UTF-8"/><meta name="description"/><meta name="keywords"/>
        <title>
        </title>
        <meta name="viewport" content="width=device-width, initial-scale=1, shrink-to-fit=no"/>
        <link rel="stylesheet" href="https://maxcdn.bootstrapcdn.com/bootstrap/4.0.0-beta.2/css/bootstrap.min.css" integrity="sha384-PsH8R72JQ3SOdhVi3uxftmaW6Vc51MKb0q5P2rRUpPvrszuE4W1povHYgTpBfshb" crossorigin="anonymous"/>
    </head>
    <body>
    </body>
</html>
Notice that we added a comma after the Meta instance, because this instance and the Link instance are arguments of the method call on self.head.
In the next lines we do the same inside the <body> tag, the main content section (for the sake of this tutorial we skipped the header of the Bootstrap example) and the Javascript scripts of Bootstrap and JQuery:
        self.body(
            Main(role='main')(
                Section(klass="jumbotron text-center")(
                    Div(Klass="container")(
                        H1(klass="jumbotron-heading")('TemPy Contact Book'),
                        P(klass="lead text-muted")("A contact book made with TemPy."),
                    )
                ),
                Div(klass="album py-5 bg-light")(
                    Div(klass="container")
                )
            ),
            Script(src="https://code.jquery.com/jquery-3.2.1.min.js",
                   integrity="sha256-hwg4gsxgFZhOsEEamdOYGBf13FyQuiTwlAQgxVSNgt4=",
                   crossorigin="anonymous"),
            Script(src="https://cdnjs.cloudflare.com/ajax/libs/popper.js/1.12.3/umd/popper.min.js",
                   integrity="sha384-vFJXuSJphROIrBnz7yo7oB41mKfc8JzQZiCq4NCceLEaO4IHwicKwpJf9c9IpFgh",
                   crossorigin="anonymous"),
            Script(src="https://maxcdn.bootstrapcdn.com/bootstrap/4.0.0-beta.2/js/bootstrap.min.js",
                   integrity="sha384-alpBpkh1PFOepccYVYDB4do5UnbKysX5WZXm3XxPqe5iKTfUKjNkCk9SaVuEZflJ",
                   crossorigin="anonymous")
        )
One important thing here: in our Divs and in the Section we used klass instead of class to specify the css class in the resulting html. This is because class is a reserved word in Python, so TemPy will always translate klass to class.
In these lines, we added the <main> tag inside the <body> tag, and while doing so we added other tags inside the newly created <main> tag.
Now that we have built a TemPy template, we can use it in our app. Go back to the controllers.py file, import our HomePage and change our handler so it redenders our template:
from app import app

from templates.pages import HomePage


@app.route('/')
def index():
    return HomePage().render()
Check if everything is working by starting our app again:
(venv)$ python run.py
WARNING:werkzeug: * Debugger is active!
and reload the page in the browser. You should see a page like this:
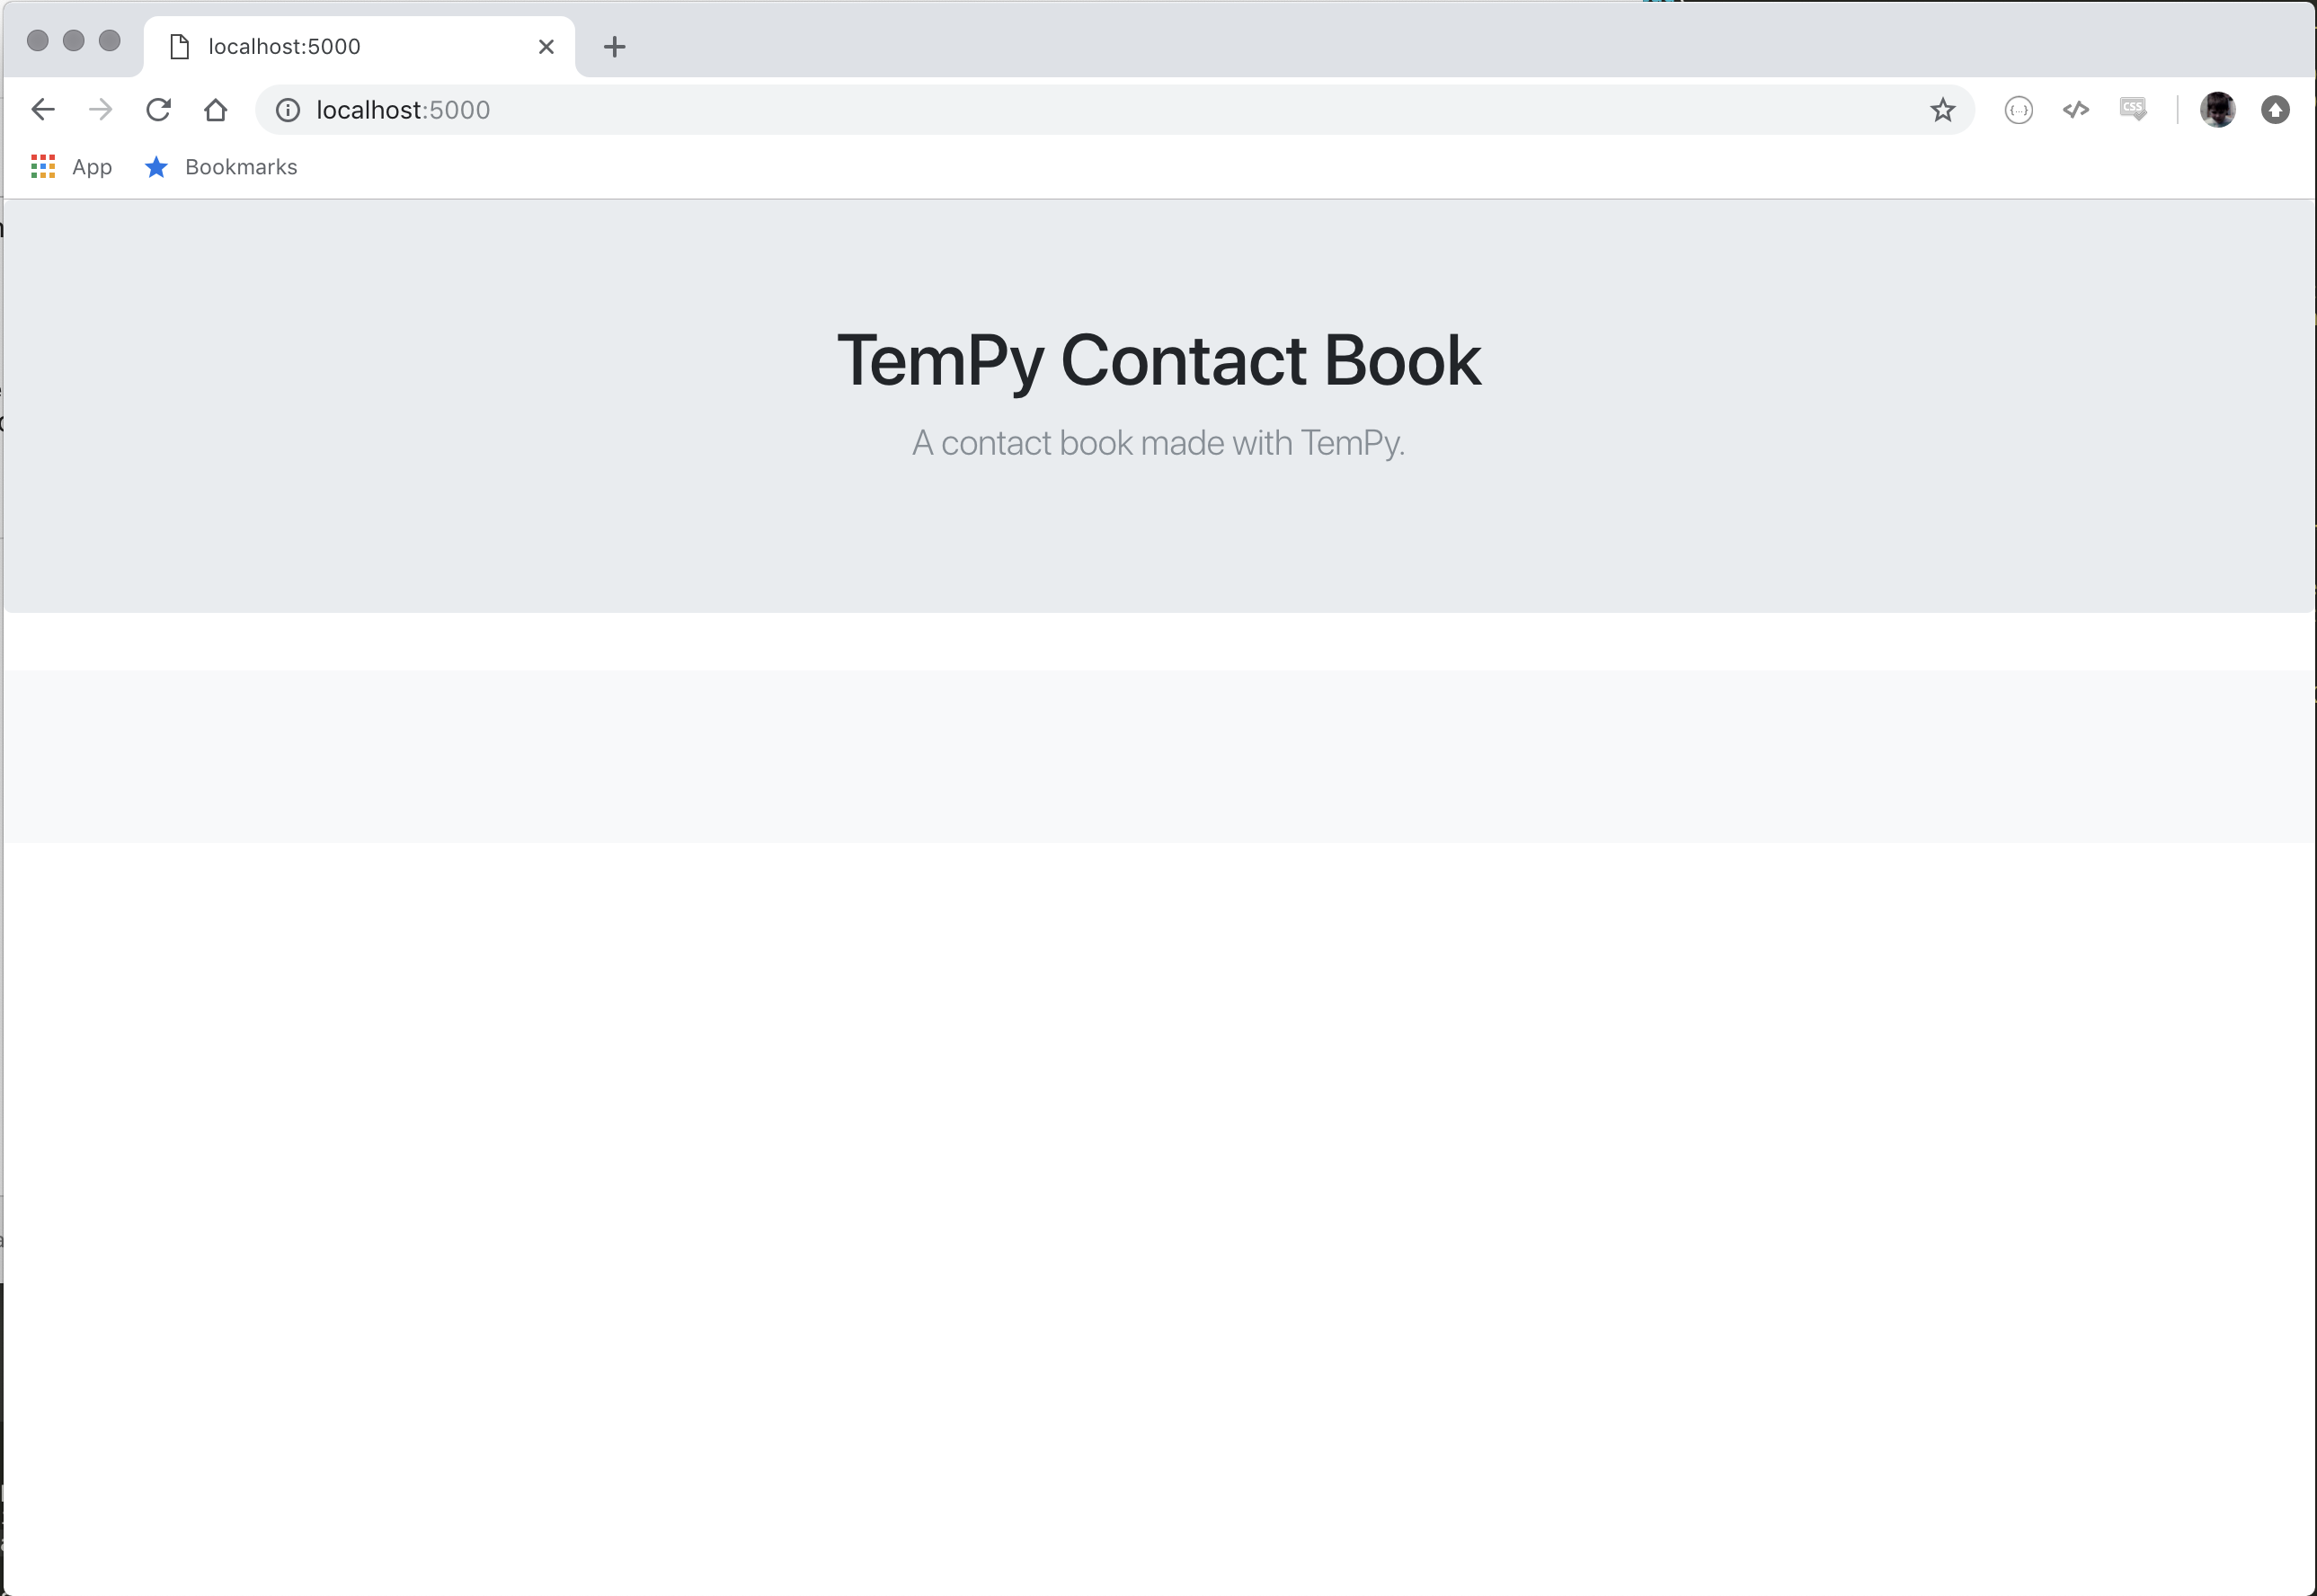
In the next section we’ll make another page while learning how inheritance work in TemPy, and how to reuse static blocks of code.